Using Core ML models often feels like working with a black box. Most developers integrate machine learning models[Ref-1] into their iOS apps, wire up the UI, and ship-without ever verifying that the model itself works as expected. This works until it doesn’t.
I learned this lesson the hard way. We shipped a pet recognition feature that worked perfectly in QA. Two weeks later, the data science team sent an updated model trained on new breeds. I dragged in the new .mlmodel file, ran the app, and everything seemed fine. We shipped it. Within days, users reported the app was confusing huskies with wolves. The model had regressed, and we had no way to catch it before release.
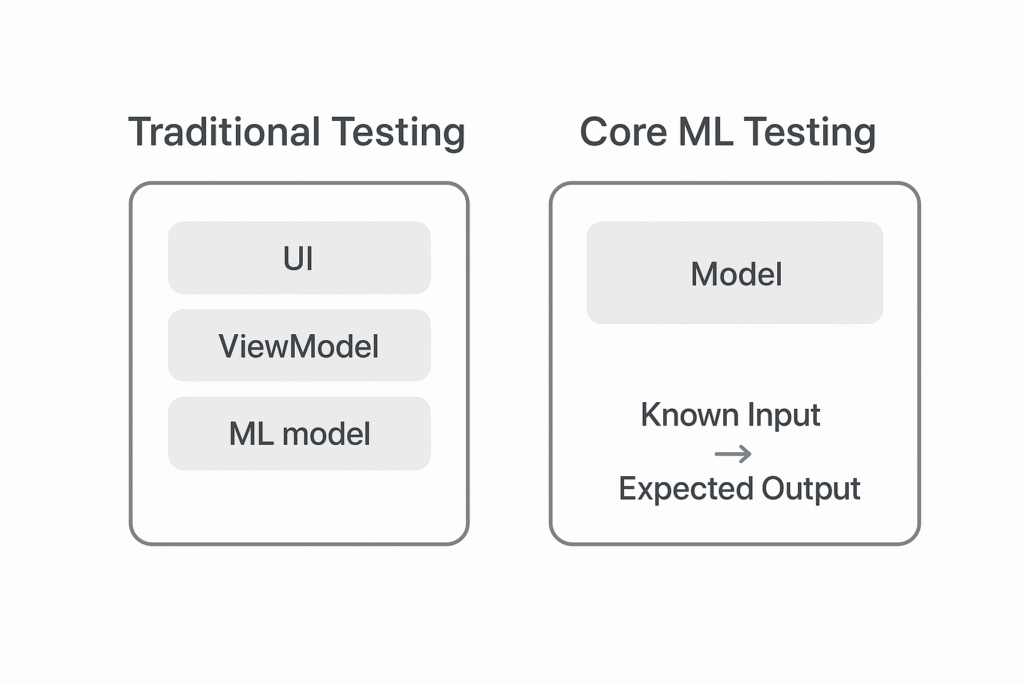
Here’s the real problem: most developers test the code around the model—the ViewModel that formats inputs, the UI that displays results—but not the model’s output itself. When you receive an updated model file from your data science team or retrain with new data, how do you know it still produces accurate predictions?
Testing the model directly gives you confidence that your AI feature works today and will continue working tomorrow. Let’s walk through how to write effective unit tests for Core ML models using XCTest [Ref-2].
Setting Up Your Test Target

Before writing your first test, you need to ensure the test target can actually see and load the .mlmodel file. This is where many developers hit their first roadblock—tests fail with “model not found” errors because the model isn’t included in the test bundle.
Here’s how to fix it. Select the .mlmodel file in the Project Navigator and open the File Inspector. In the “Target Membership” section, check both your app target and your test target. When XCTest runs, it creates a separate bundle for your tests [Ref-5]. If the model isn’t included in that bundle, any attempt to load it will fail at runtime. Think of the .mlmodel as a resource file—like an image or JSON file—that needs explicit inclusion.
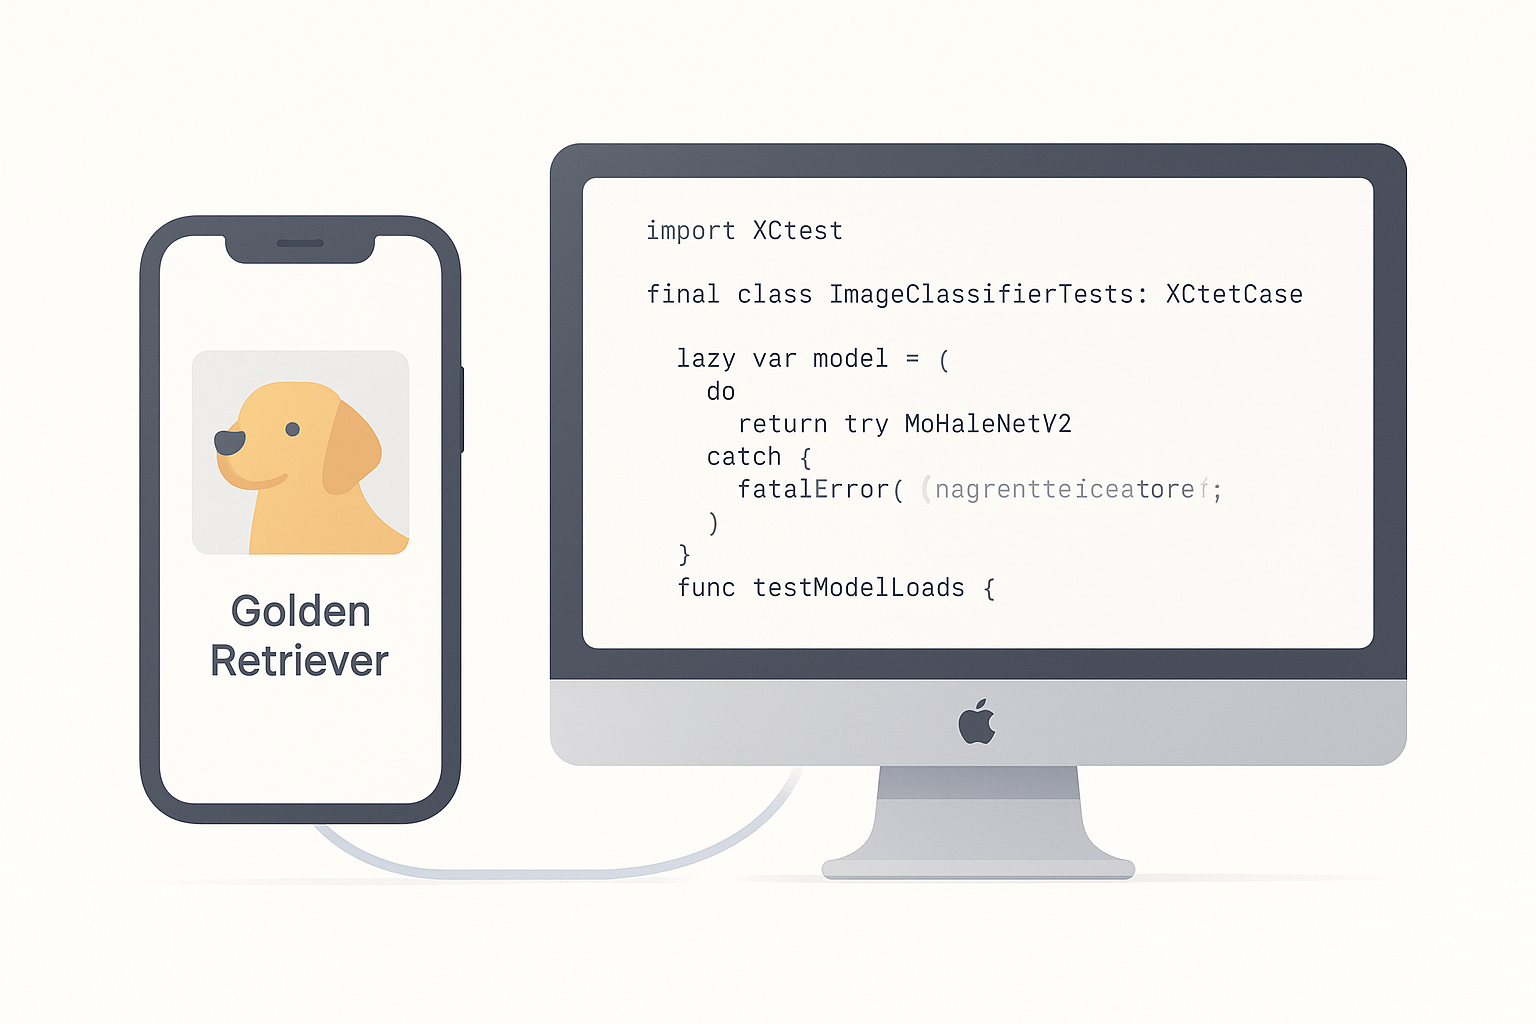
Once the model is accessible, create a new test file. I like to name mine after the model itself, like ImageClassifierTests.swift. Inside this file, create a standard XCTestCase [Ref-3] subclass and instantiate your model:
import XCTest
import CoreML
import os

final class ImageClassifierTests: XCTestCase {

    private let logger = Logger(subsystem: "com.yourapp.tests", category: "CoreML")

    lazy var model: MobileNetV2 = {
        do {
            let config = MLModelConfiguration() // [Ref-4]
            return try MobileNetV2(configuration: config)
        } catch {
            logger.error("Failed to load model: \(error.localizedDescription)")
            fatalError("Failed to load model: \(error)")
        }
    }()

    func testModelLoads() {
        XCTAssertNotNil(model, "Model should load successfully")
    }
}
I prefer the lazy property approach because it’s cleaner and doesn’t require force-unwrapping. If this basic test passes, you’re ready to write real prediction tests.
The Core Testing Strategy
Here’s what you need to understand: we aren’t testing Apple’s Core ML framework. We’re testing our specific model—the one trained on our dataset, with our hyperparameters, and exported to our app. The framework is solid, but models can be unpredictable.
The testing strategy is straightforward: if you give the model a known input, it should return a known output. For an image classifier, if you feed it a picture of a golden retriever, it should predict “golden retriever.” If you feed it a blank image, it should handle it gracefully without crashing.
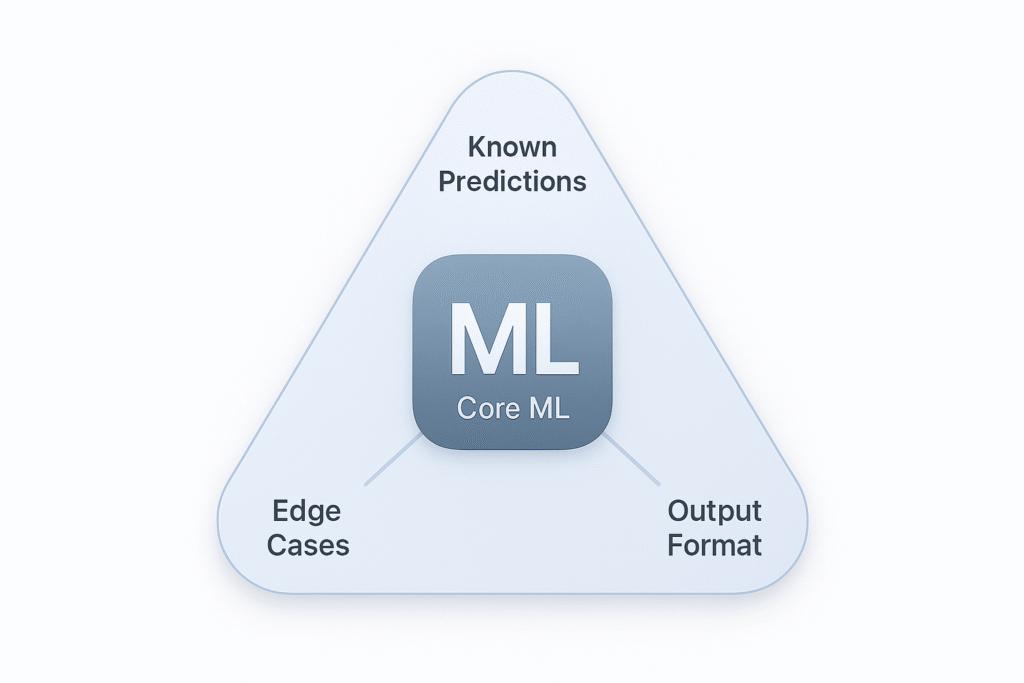
Focus on three types of tests:
First, known predictions. This validates that the model’s core functionality works. Feed it a clear test image and verify it returns the expected label.
Second, edge cases. What happens when you send a blank image or corrupted input? Your app shouldn’t crash—it should handle these gracefully.
Third, output format. Does the MLFeatureProvider [Ref-7] output contain the dictionary keys you expect with the right data types?
The beauty of this approach is speed and reliability. You’re not testing complex business logic or UI interactions. You’re calling a function and checking its output. These tests run in milliseconds and give you immediate feedback when something breaks.
Here’s a real-world example. Your model correctly identifies 95% of dog breeds in testing. Then your ML team retrains it with more data and the accuracy drops to 87% for golden retrievers specifically. Without tests, you won’t know until users complain. With tests, your CI pipeline catches it before merging the PR.
Testing an Image Classifier
Let’s walk through testing an image classifier like MobileNetV2. Once you understand this pattern, you can apply it to any Core ML model.
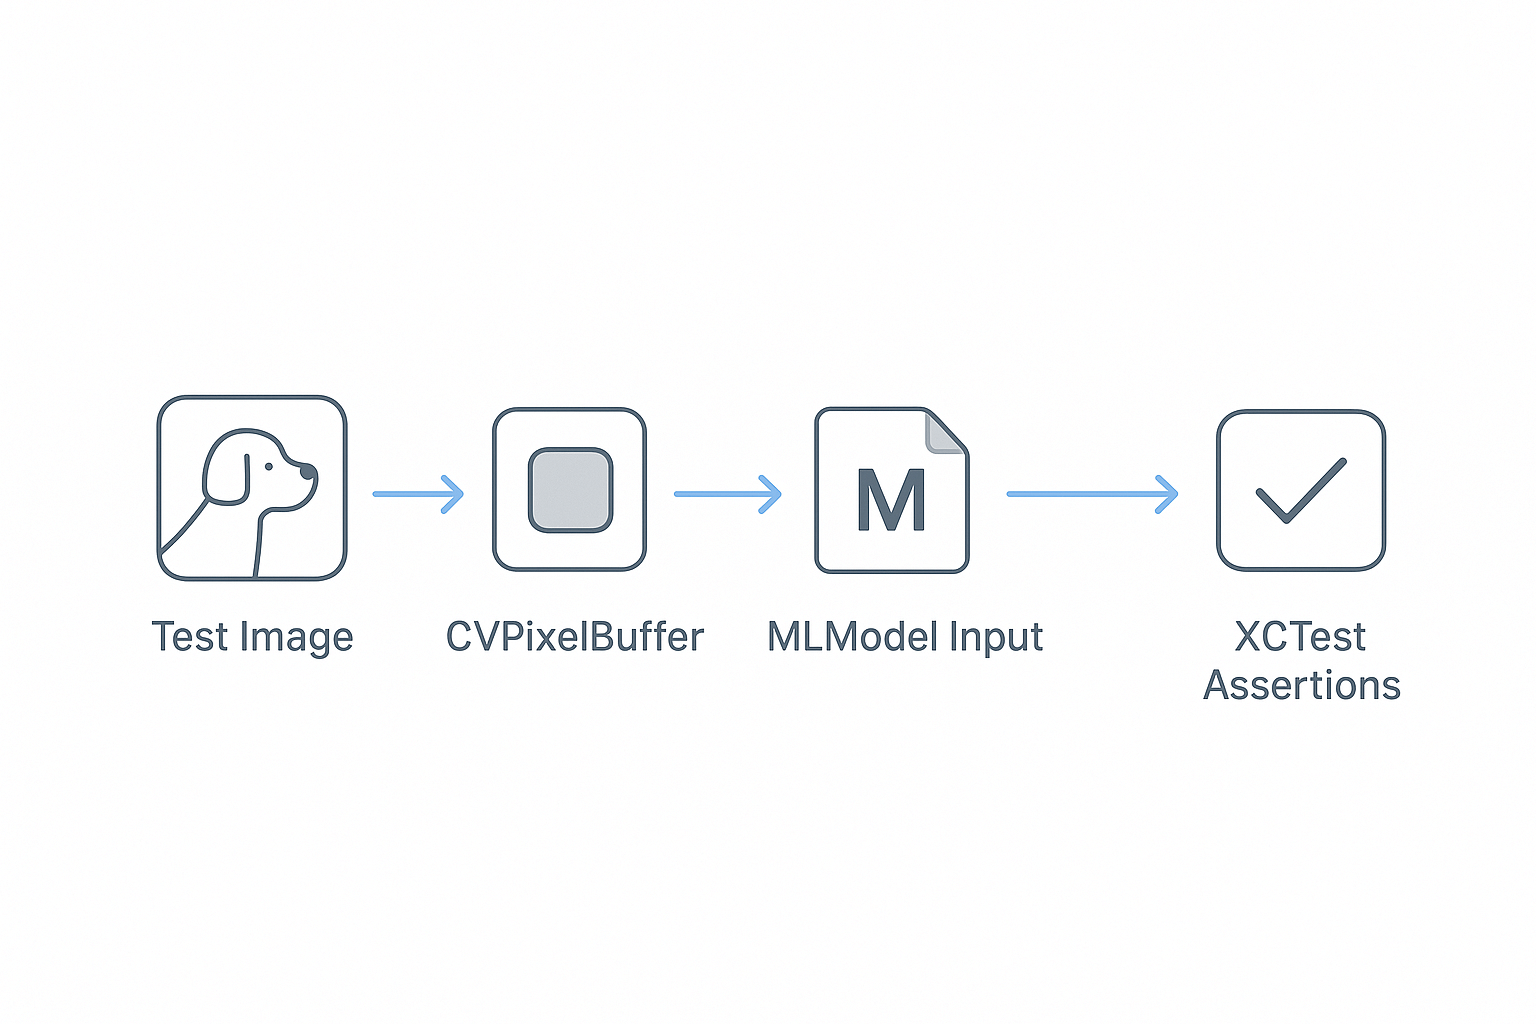
Start by adding a known test image to your test target. Find a clear, unambiguous image—like a photo of a golden retriever—and drag it into your project. Make sure it’s added to the test target. Name it descriptively: test-image-dog.jpg.
Core ML image classifiers expect input as a CVPixelBuffer [Ref-8], not a UIImage. Create a helper function to load your test image and convert it to the right format:
extension ImageClassifierTests {

    func loadTestImage(named name: String) -> CVPixelBuffer? {
        guard let url = Bundle(for: type(of: self)).url(forResource: name, withExtension: "jpg"),
              let imageSource = CGImageSourceCreateWithURL(url as CFURL, nil),
              let cgImage = CGImageSourceCreateImageAtIndex(imageSource, 0, nil) else {
            return nil
        }

        let width = cgImage.width
        let height = cgImage.height

        let attrs = [
            kCVPixelBufferCGImageCompatibilityKey: kCFBooleanTrue,
            kCVPixelBufferCGBitmapContextCompatibilityKey: kCFBooleanTrue
        ] as CFDictionary

        var pixelBuffer: CVPixelBuffer? // [Ref-8]
        let status = CVPixelBufferCreate(
            kCFAllocatorDefault,
            width,
            height,
            kCVPixelFormatType_32ARGB,
            attrs,
            &pixelBuffer
        )

        guard status == kCVReturnSuccess, let buffer = pixelBuffer else {
            return nil
        }

        CVPixelBufferLockBaseAddress(buffer, [])
        defer { CVPixelBufferUnlockBaseAddress(buffer, []) }

        let context = CGContext( // [Ref-9]
            data: CVPixelBufferGetBaseAddress(buffer),
            width: width,
            height: height,
            bitsPerComponent: 8,
            bytesPerRow: CVPixelBufferGetBytesPerRow(buffer),
            space: CGColorSpaceCreateDeviceRGB(),
            bitmapInfo: CGImageAlphaInfo.noneSkipFirst.rawValue
        )

        context?.draw(cgImage, in: CGRect(x: 0, y: 0, width: width, height: height))

        return buffer
    }
}
This helper handles all the conversion logic. Once you have it, your actual tests become much cleaner. Now write the test using a descriptive name that reads like a sentence:
func testImageClassifier_WithKnownDogImage_ReturnsDogPrediction() throws {
    // Arrange
    guard let pixelBuffer = loadTestImage(named: "test-image-dog") else {
        XCTFail("Failed to load test image")
        return
    }

    // Act
    let input = MobileNetV2Input(image: pixelBuffer)
    let prediction = try model.prediction(input: input) // [Ref-10]

    // Assert
    XCTAssertNotNil(prediction, "Model should return a prediction")
    XCTAssertEqual(prediction.classLabel, "golden_retriever")
    XCTAssertGreaterThan(prediction.classLabelProbs["golden_retriever"] ?? 0, 0.7)
}
This test follows the Arrange-Act-Assert pattern. Load the test image, pass it to the model, and verify the output matches your expectations. The assertions check that the prediction exists, the class label is correct, and the confidence is reasonably high.
Your assertions [Ref-6] should be specific but not brittle. Don’t check for exact confidence values—models can vary slightly between runs. Instead, use ranges: “confidence should be above 70%.” This makes your tests stable while still catching real regressions.
Testing Other Model Types
The same principle applies to all Core ML models. The input and output change, but the testing strategy remains the same.
For text-based models like sentiment analyzers, your input is a string and your output might be a sentiment score:
func testSentimentAnalyzer_WithPositiveText_ReturnsPositiveSentiment() throws {
    let input = SentimentAnalyzerInput(text: "This product is amazing!")
    let prediction = try sentimentModel.prediction(input: input)

    XCTAssertEqual(prediction.label, "positive")
    XCTAssertGreaterThan(prediction.labelProbability["positive"] ?? 0, 0.8)
}
For tabular models used for predictions like house prices, your input is a dictionary of features:
func testHousePricePredictor_WithKnownFeatures_ReturnsExpectedPrice() throws {
    let features: [String: Any] = [
        "bedrooms": 3,
        "bathrooms": 2,
        "sqft": 1500,
        "location_score": 8.5
    ]
    let input = try MLDictionaryFeatureProvider(dictionary: features) // [Ref-11]
    let prediction = try housePriceModel.prediction(from: input)

    let predictedPrice = prediction.featureValue(for: "price")?.doubleValue ?? 0
    XCTAssertGreaterThan(predictedPrice, 200_000)
    XCTAssertLessThan(predictedPrice, 500_000)
}
For tabular models, you often can’t know the exact output, but you can verify it’s in a reasonable range. This catches major bugs like the model returning negative prices or wildly incorrect values.
Decoupling with a Protocol
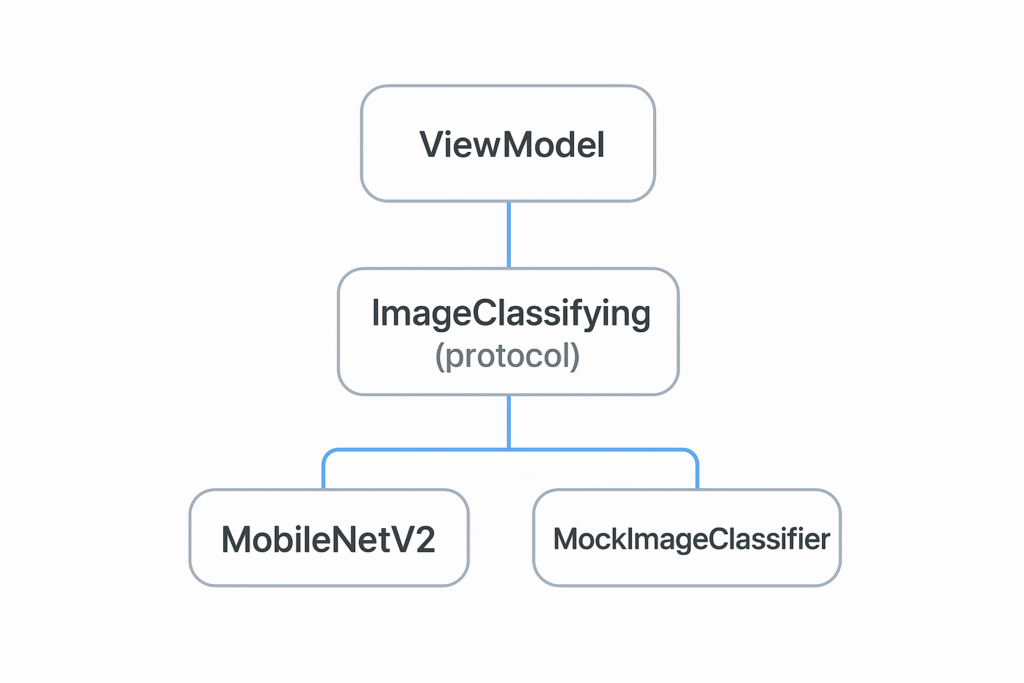
Here’s something I learned late in my career: your production code shouldn’t depend directly on the concrete MLModel class. Define a protocol [Ref-12] that represents “something that can classify images.” This unlocks two major benefits.
First, it allows you to easily mock the model’s behavior. When testing your ViewModel, you don’t want to run the real model—it’s slow and couples your ViewModel tests to the model’s behavior. Second, it future-proofs your code. What if you want to swap models or add an A/B test? With a protocol, your ViewModel doesn’t care:
protocol ImageClassifying {
    func classify(image: CVPixelBuffer) throws -> ImageClassificationResult
}

extension MobileNetV2: ImageClassifying {
    func classify(image: CVPixelBuffer) throws -> ImageClassificationResult {
        let input = MobileNetV2Input(image: image)
        let prediction = try self.prediction(input: input)
        return ImageClassificationResult(
            label: prediction.classLabel,
            confidence: prediction.classLabelProbs[prediction.classLabel] ?? 0
        )
    }
}

final class MockImageClassifier: ImageClassifying {
    var resultToReturn: ImageClassificationResult?

    func classify(image: CVPixelBuffer) throws -> ImageClassificationResult {
        return resultToReturn ?? ImageClassificationResult(label: "unknown", confidence: 0.5)
    }
}
This separation follows the Dependency Inversion Principle from SOLID. Your ViewModel tests become fast and focused on business logic. When you do test the actual model, those tests are isolated where they belong—in the model test suite.
Wrapping Up
Testing Core ML isn’t complicated. It’s about validating known inputs against known outputs. Set up your test target to include the .mlmodel file, load test assets, and use XCTAssert functions [Ref-6] to validate predictions. This gives you confidence that your model works today and will continue working when you update it tomorrow.
Start small. Add one test to your existing Core ML implementation. Pick the most common use case—like testing your image classifier with a clear photo—and write a single assertion. Once that test passes, you’ll have a safety net. You can update models, refactor code, and ship features knowing that if something breaks, your tests will catch it.
The real power of Core ML testing isn’t just catching bugs. It’s building trust in your AI features. When your QA team asks “How do we know this model works?” you can point to your test suite. When your product manager wants to ship faster, you can do it confidently because your tests have your back.
References
[Ref-1] Apple Developer Documentation – Core ML
[Ref-2] Apple Developer Documentation – XCTest
[Ref-3] Apple Developer Documentation – XCTestCase
[Ref-4] Apple Developer Documentation – MLModelConfiguration
[Ref-5] Apple Developer Documentation – Bundling resources for a test target
[Ref-6] Apple Developer Documentation – Assertions – https://developer.apple.com/documentation/xctest/assertions
[Ref-7] Apple Developer Documentation – MLFeatureProvider
[Ref-8] Apple Developer Documentation – CVPixelBuffer
[Ref-9] Apple Developer Documentation – CGContext
[Ref-10] Apple Developer Documentation – MLModel prediction(from:options:)
[Ref-11] Apple Developer Documentation – MLDictionaryFeatureProvider
[Ref-12] The Swift Programming Language – Protocols
